NOTE: As a prerequisite, please ensure the person completing these details are an Admin of the subscription.
1. Navigate to the Marketplace Offer
2. Select Eureka from the list of plans
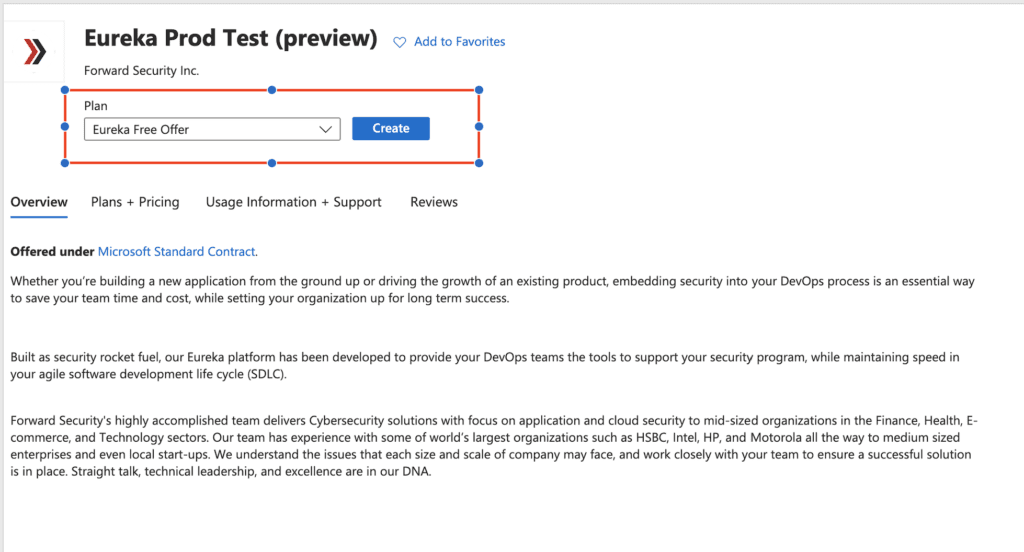
3. Click create
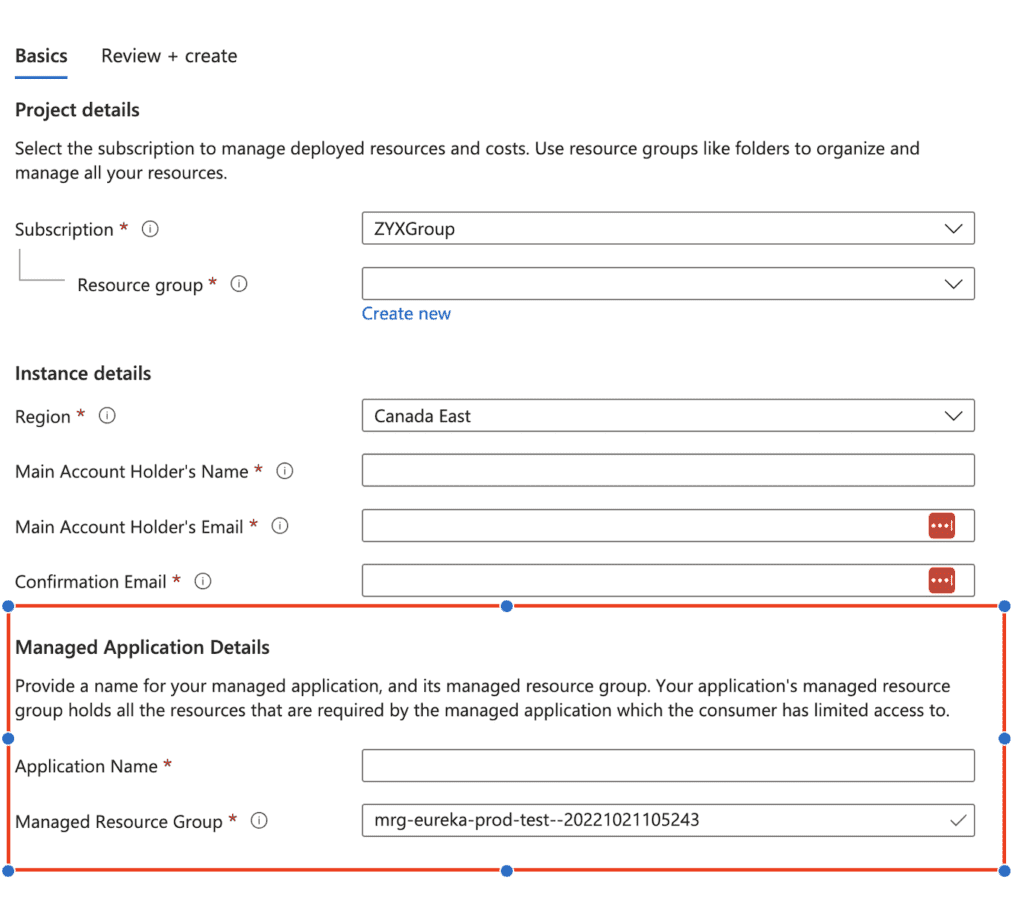
4. In the project details section select the subscription and recourse group you would like the managed application to be deployed in

5. In the instance details section select the Region you would like your resources to be stood up in (we suggest and availability zone closest to where your majority of users reside).
Please also fill in your Main Account Holders Name (this will be your admin user ie you 🙂 ), the Main Account Holder’s Email (work email that is tied to your azure account)
Note: to complete the next steps you need to be either Co-Admin of the subscription or the Account Owner of the Azure account and have Global Admin access on your Azure AD
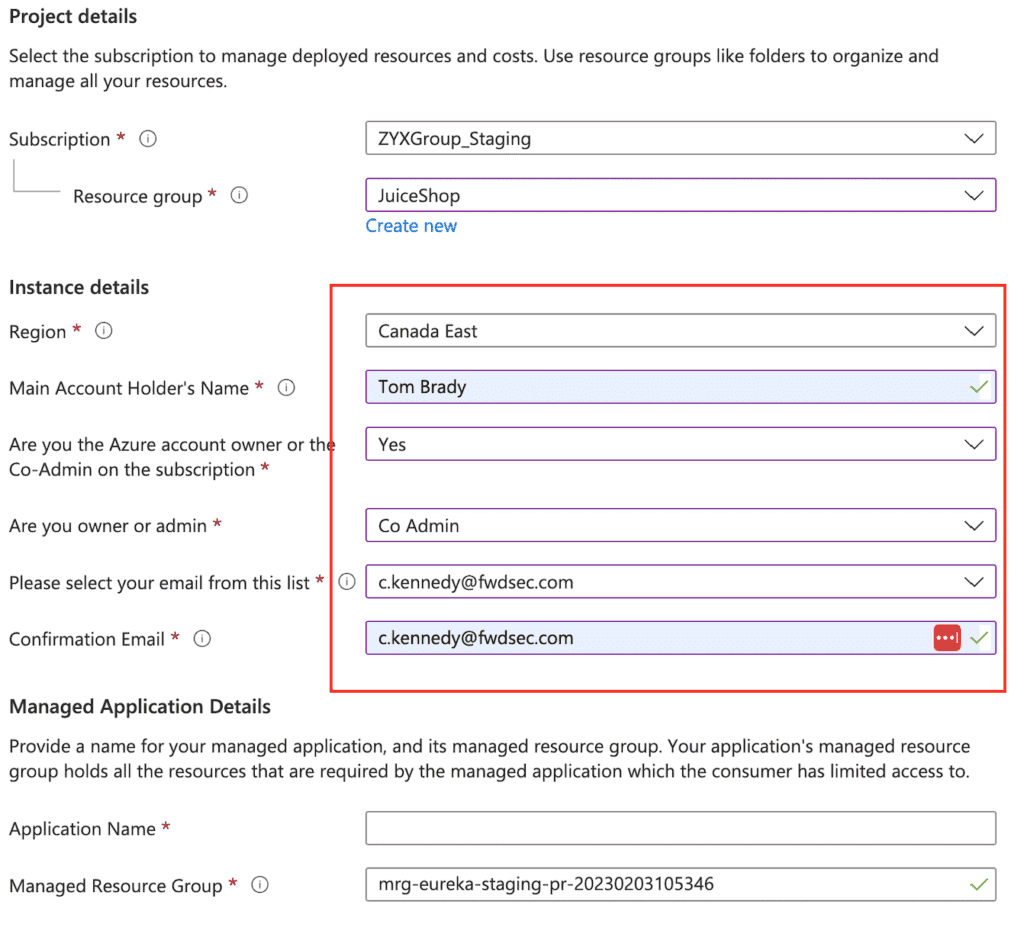
6. Lastly fill in the Application Name (We suggest you call this Eureka so that it will be easy to distinguish later) and the Managed Resource Group
8. Click Review+ Create
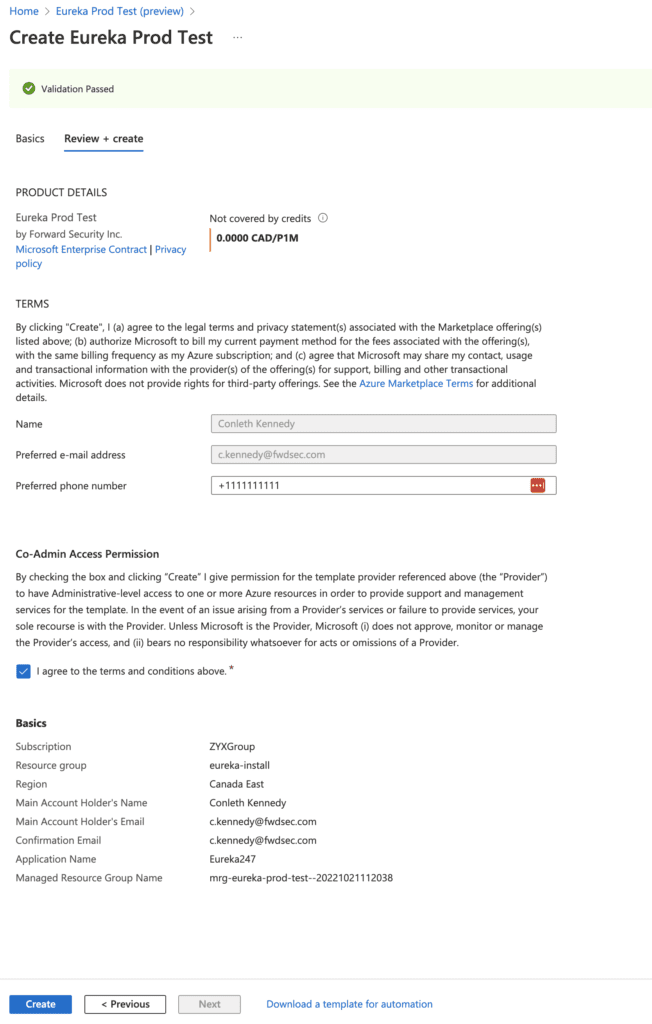
9. Click create
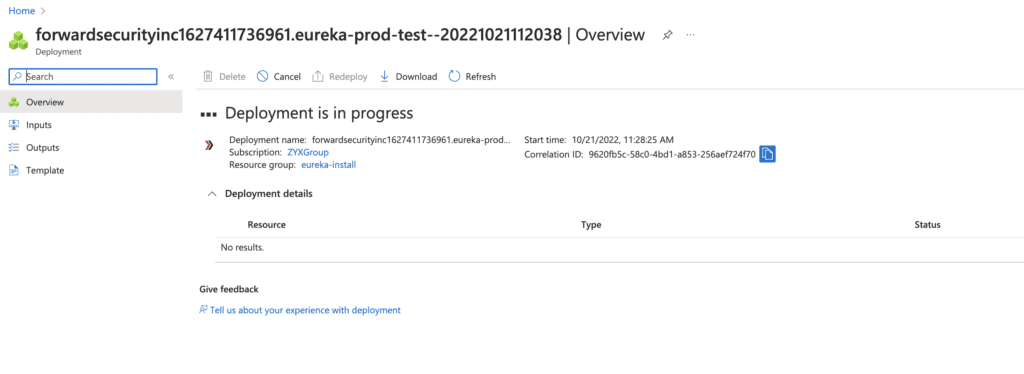
10. Wait for deployment to finish
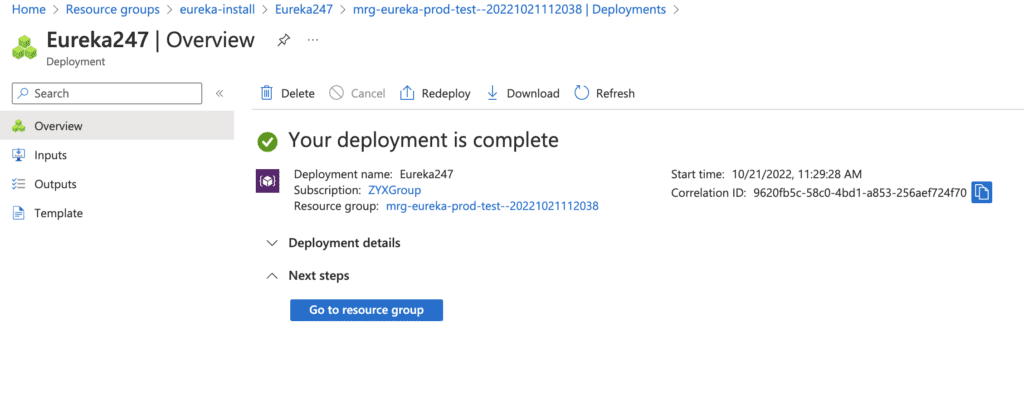
11. Once your deployment is complete you should see something like the below
12. Search for Groups within the azure global search box at the top of your screen

13. Click groups
14. At the top of the screen click new group
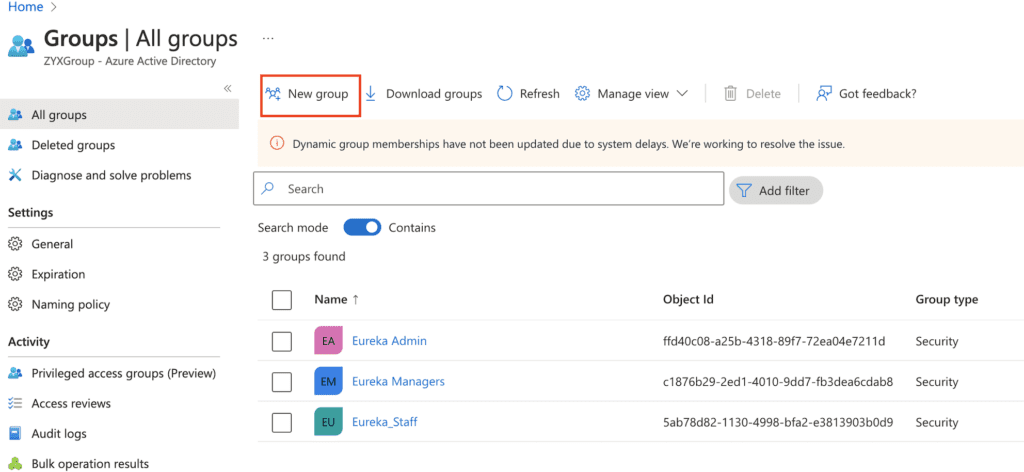
15. Select Security for the group type
16. Create 3 groups with the following names:
Eureka_Admin (Make sure to add yourself as a member here)
Eureka_Staff
Eureka_Manager
17. Record the object id’s for each of the groups you’ve just created
18. Navigate the Eureka Portal
19. Sign in with your azure ad credentials
20. Enter the object ID’s you’ve recorded in their respective fields
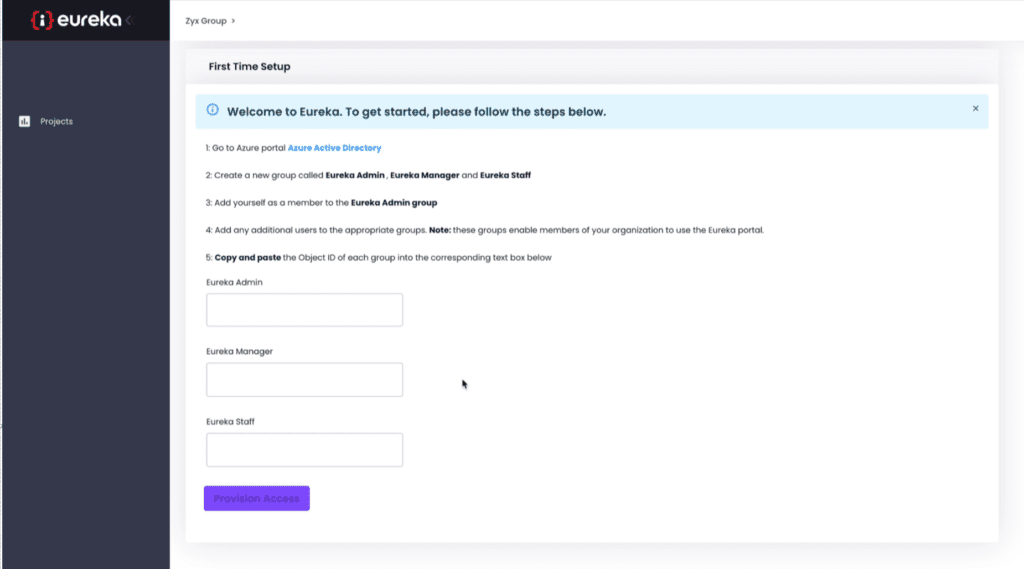
21. Click the “Provision Access” button and wait for the application to setup the permissions for your user groups
22. Once the loading screen has completed you can now create your first project.
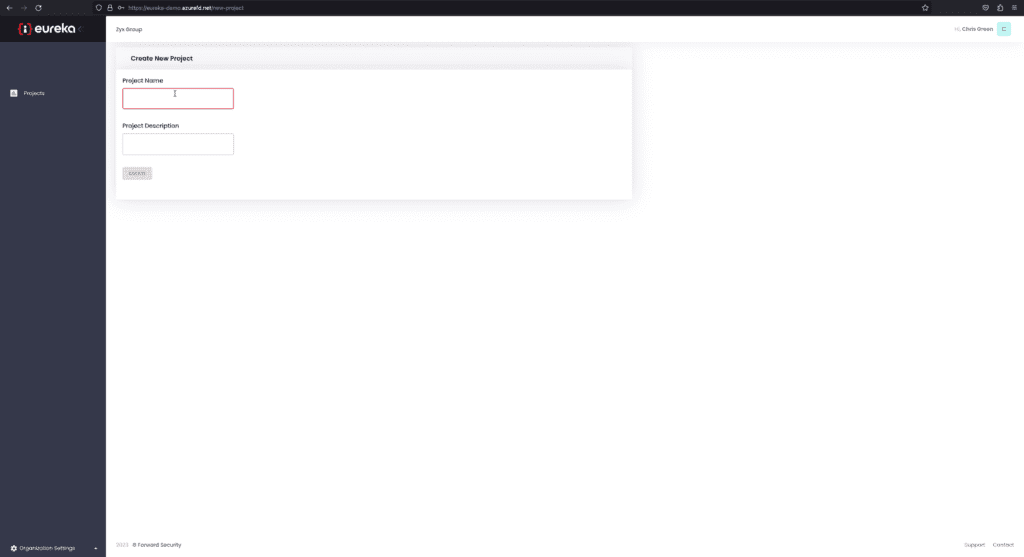
23. Enter the name and description of one of the projects you would like Eureka to scan, and click save.
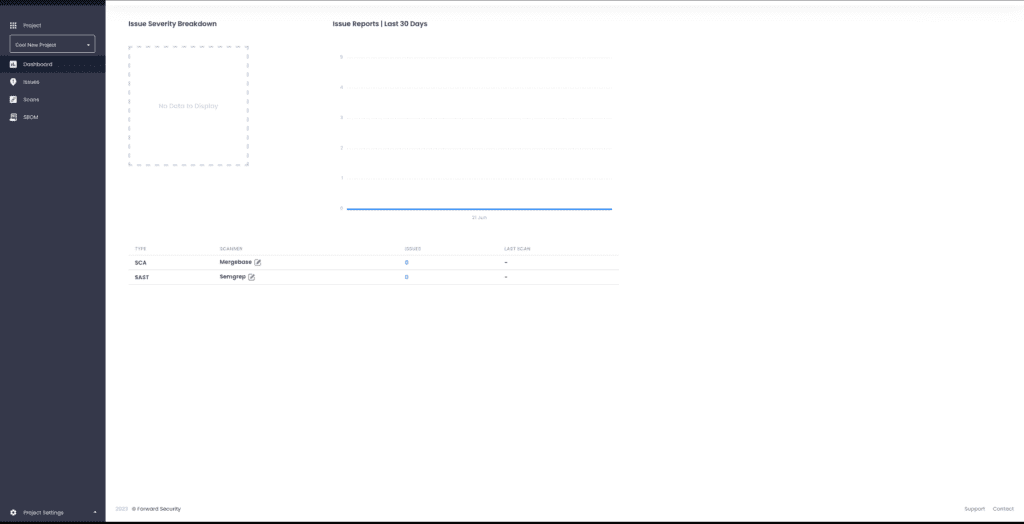
Congratulations you’ve completed on-boarding!
If you wish to create another project, follow along for part 2.